
Underwater photography is almost a very different environment from the usual photography field that we have used to it. The article describes my experience about what gear you need, how you will be prepared to dive and how you will split the sea. And many S.O.S tips.
Underwater Photography
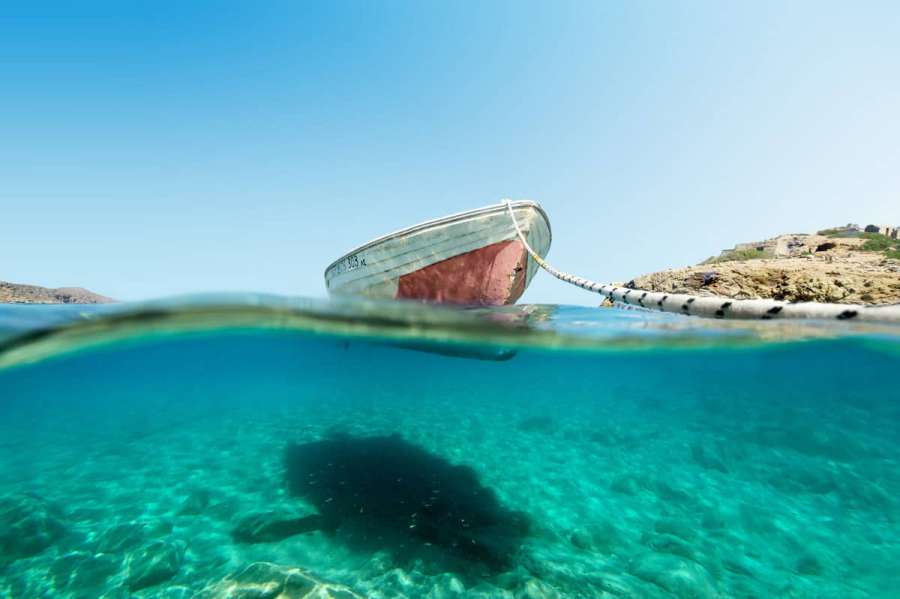
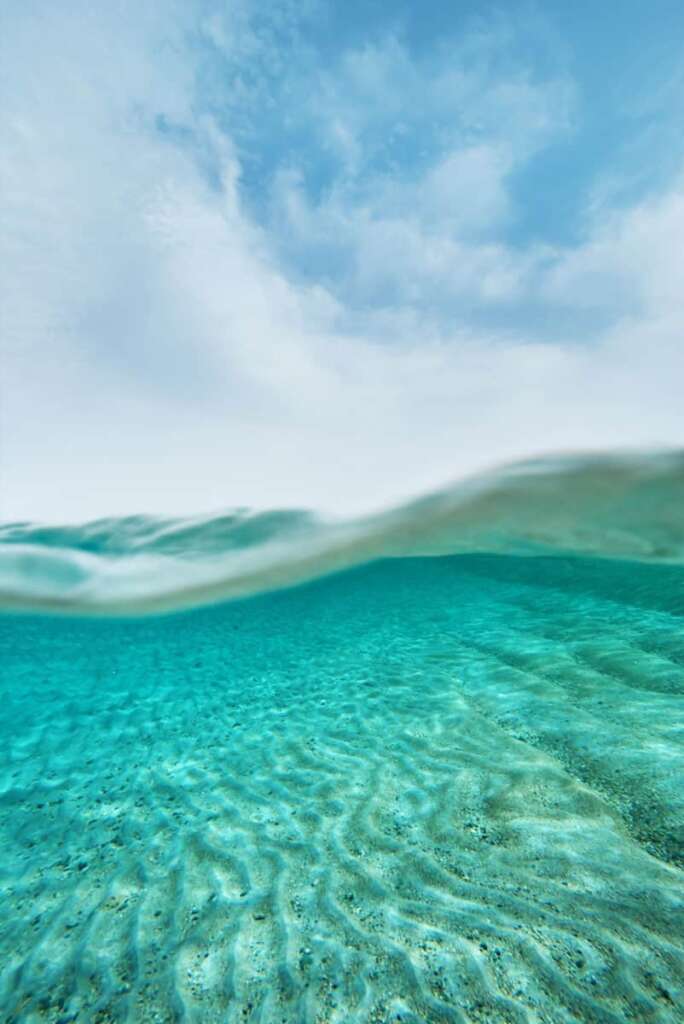
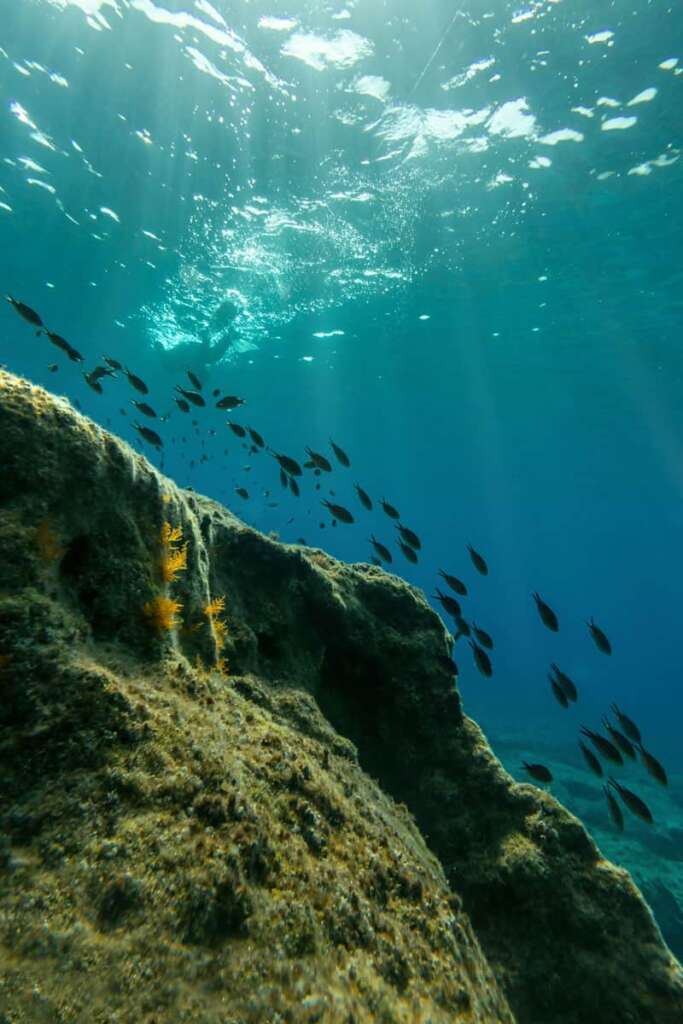
As a photographer I have dealt with many kinds of shooting, one of my favorites is the underwater photography. The reason I started underwater photography is the excitement and the challenge I felt seeing for the first time on the internet underwater photos. Ι was attracted by the split-sea pictures, this is how are called those pics when the line of sea surface divides in two the frame of the photo. An imaginary “cut” that sets two worlds apart and expose to light at the same time what lies within them. The sea bottom is a photographic journey to another planet where there light and gravity obtain different dimensions.
The place where I live is surrounded by clear waters and beautiful landscapes. All I had to do was to accept the challenge and start my own underwater photography journey.
HOW I STARTED
My first step was to find the appropriate underwater equipment for my camera. I searched a lot in the internet and I found an average economic and reliable solution. The ewa-marine company manufactures flexible plastic cases in many sizes bearing photographic glass in the lens closure. Ewa-marine construction is compatible only with internal-focus system lenses, because that casing glass fits in the front of the lens, and a lens without internal-focus cannot be rotated when you need to apply focus settings. The only disadvantage of the ewa-marine camera case type is if one needs to access to the controls of the camera is almost impossible in the water. The only easy access we have is dial on the front of the camera.
If someone wants to find a much better solution, he would have to spend more. There are companies that manufacture hard type models, those are designed for specific camera models, offering access to all camera controls and also have a potential to function in deeper waters. There are also other quite cheap but also risky solutions. A friend of mine bought a economic (cheap) underwater camera case only to see his equipment destroyed after a few dives when seawater entered in his camera case.
UNDERWATER GEAR
Concerning the camera now, and in order to achieve satisfactory results, the camera should be with interchangeable lenses and capable of shooting RAW files. Cameras with interchangeable lenses allow us to use a super wide-angle lens and the RAW files which will be created will allow us to edit easier our material. I personally use for my underwater photography the Sony a58 and lens Sony 11-18mm f / 4.5-5.6 DT
The diving equipment I use is very simple; a snorkel diving set is enough. Maybe you will need 1-2 pounds of weights around your waist, which will help dive deeper as water buoyancy and the air trapped in the camera case will impede our effort to go deeper. We should draw out as much air as possible from inside the case.
CAMERA & SAVE TIPS
The most important point in underwater photography is the good preparation before diving. From the moment that we have already dive in to the water the posibilities to improve our equipment or our camera settings will be very limited if not impossible.
Before diving we should check the battery, the memory card space and the camera settings. Once I dived for a shooting and before I even begin my memory card run out of space and then I had to cancel the shooting of that day.
As to when it comes to camera settings, I personally choose the manual mode and in that mode I give priority to speed to avoid shaky images. The buoyancy and weightlessness in the water make us move particularly unstable. A good shutter speed values are 1/400s – 1/500s. The aperture I choose in my own lens Sony 11-18mm is about f7-f9 an adjustment that gives the maximum in sharpness and large depth of field. Finally iso settings have to be at 400. All these prices are indicative and depend on the weather. The goal is a good shutter speed that will be the base for the rest of settings.
A photometer is essential for the final decision of the above settings. The photo metering has to be done before the diving and enclosure the camera in the case. My photometric method is, I frame up the horizon of the sea and then I put my camera settings to have 1-2 stop over-exposure. In that way because in water is darker our exposure will be neutral. As mentioned above ewa-marine camera case type gives easy access only to the front dial, so my prefernce is to assign the dial to control aperture to redefine if necessary the camera’s exposure.
The camera drive-mode has to be in CONTINUOUS / BURST shooting, in that way we can have –dependent on our camera capacity- as many frames as possible. The ripple of the sea in front of our lens is so fierce in the small area of the lens which makes it almost a matter of luck to achieve a good frame when we want to shoot a split-sea type photography. This setting is also very useful in general underwater photography.
To achieve a split-sea photo frame is quite difficult and involves many factors. Most important is to have calm sea with gentle waves. The camera has to be in vertical position so that we have enough “information” at the top (sky) and lower (sea bottom) part of the frame. The camera should be aligned with the horizon and our wide-angle lens to be positioned in the middle of the water surface. Before shooting we must be focused above the water surface. Camera requires to be set to spot-focous in order to have maximum control on the result we expect, it is also very helpful to put the spot-focus at the other part of the frame that will be above water-surface. Otherwise the camera will be “confused” and will focus at the sky.
If the camera has live-view we have to adjust it in permanent position. The plastic part of the case in front of the camera screen and water reflections creates a degree of difficulty in order to have good visual contact to the camera screen. The best way create a good frame with our camera is to shoot from the seabed to the sea surface, in this case we have enough light and very good visibility on our screen.
Tips by Stefanos Veniamakis
Over the years my point of view in how I perceive photography started to change. In my website and social media albums I slowly began to erase some of my first photos, those I considered “very good” at that time. When you start to reject yourself, it is then you move forward to a higher level of development.
The equipment should not hold you back in any way. Almost any kind of camera can catch the best photo, but fisrt you have to know well how your camera works. The beauty will not lay in front of your camera, you must take your camera to where beauty lays.
I hope that you find my tips very useful, i wish you a nice underwater photo-journey
My web : http://veniamakisphoto.gr/
Instagram : veniamakisstefanos
Facebook : https://www.facebook.com/veniamakisphoto
I study photography tips and tricks
Brilliant AMAZING work I am always astounded by your art .Hope we can catchup again soon.