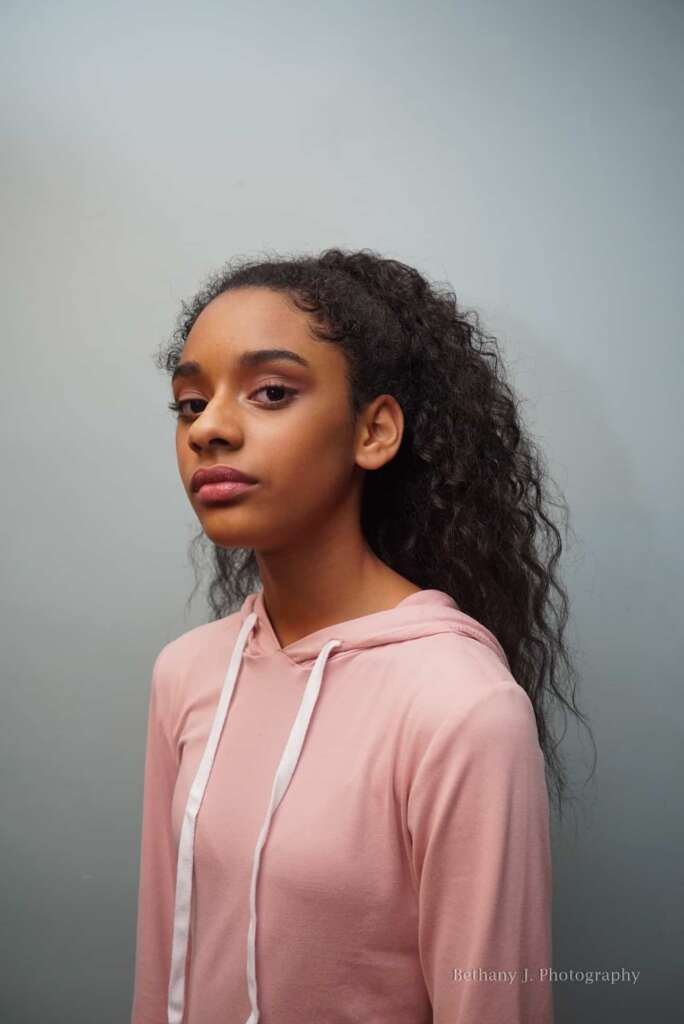
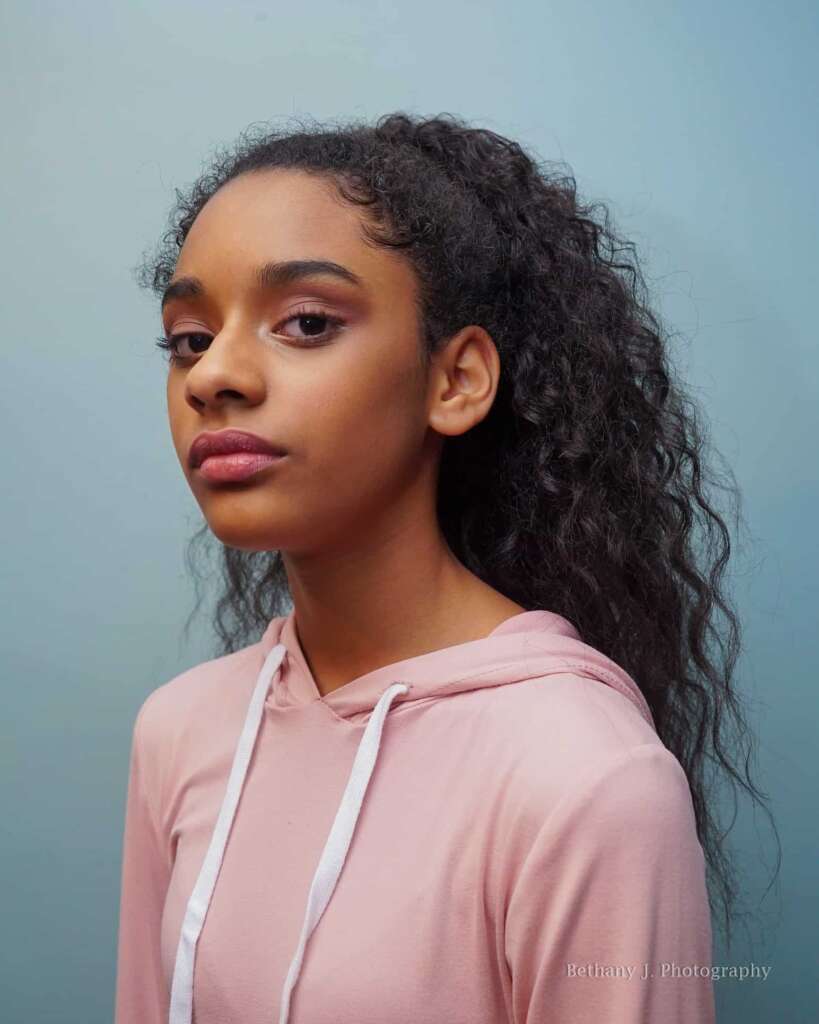
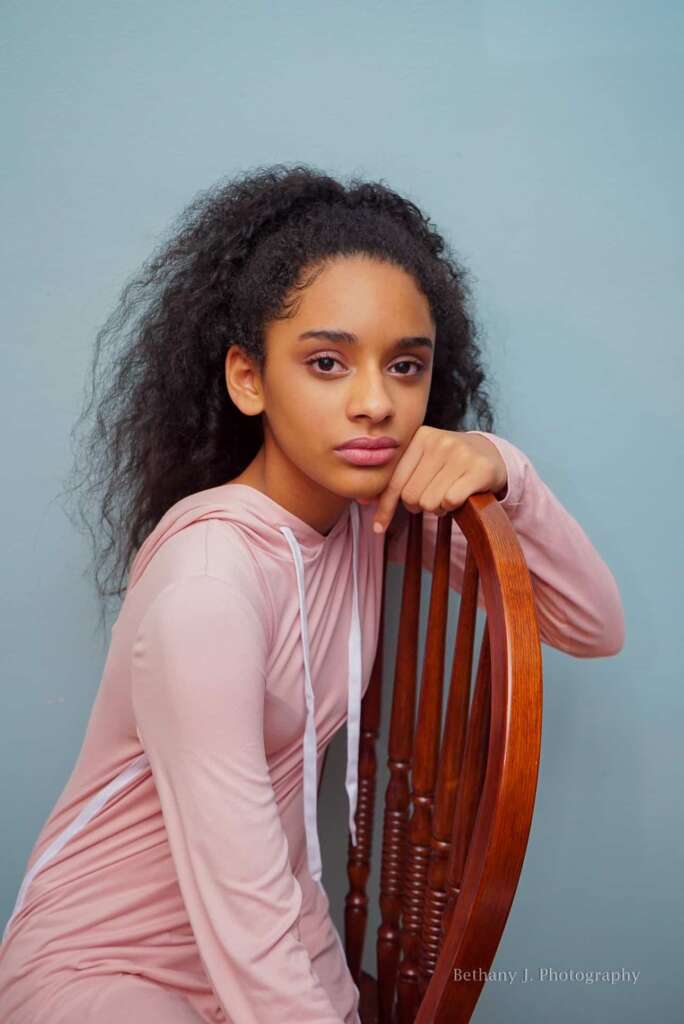
Ever wonder how to take high quality photos when it is cold outside and you have no studio? Take it from a photo student who has been there and learn how! With a camera, a speed light, and whatever editing software available I break down exactly how to get the light, airy, and colorful portraits you have been striving for!
How to get professional lighting with no studio and a dining room wall!
It took me six years to figure this out! Whenever I would shoot events or portraits I could not produce that bright airy studio look that some of my favorite Instagram photographers would. It was like a secret that evaded me, until I took studio lighting at school and worked at an internship! Don’t worry, I am here to share the secret to creating those crisp, bright, dramatic images you desire no degree necessary!
What you need:
1. A camera- preferably a full frame, but work with what you got!
2. A speed light. You can rent one or buy one for cheap if you shop around!
3. Any wall or backdrop that you find interesting! I used my dining room wall.
4. Your favorite editing software; Lightroom, Photoshop, apps
How to make the magic!
Once you have your model in place attach your speed light, lock it on the hot-shoe, and put it on auto. Many speed lights also give the option to adjust the power from full power 1/1 to 1/128 power. The more power you use, 1/1, the slower it will take for the flash to recharge, the less power you use 1/4 or 1/8 the quicker you can shoot. I find the sweet spot is 1/2 to 1/4 power this gives me usually just enough brightness in a fairly dark room.
Next set your camera to Aperture priority or Shutter speed. Remember with a flash that if your shutter speed is above around 1/250 or 1/300 it will create a black bar on your image because the light flashes faster than your camera can open and close the shutter. If your shutter speed is too slow it will look funky too. So keep your shutter speed around 1/125, 1/200 depending on the camera. Adjust for brightness using the Aperture and ISO. Remember the lower the Aperture number the more shallow depth of field, also the higher the ISO the more grain and saturation your image can have.
Now here is where we make magic! Once you are satisfied with your settings aim your flash at the ceiling, it seems strange to aim the light away from the subject, but it is key. What will happen is that the flash will bounce of the ceiling, diffuse, and create fabulous soft and shadow filling light that is gentle on the skin. Now you are almost to your studio photo!
The next part is in any kind of photo editing software you can get your hands on! I use Lightroom and Photoshop which I believe have some decent apps. Upload your selected image and brighten it. If you are using RAW don’t forget to sharpen and add saturation. Play around until you are satisfied. One thing I have learned over the years is that less is more when it comes to editing. I like to take down highlights and shadows, playing more with whites and blacks.I also soften the skin with the luminance tool. In the image below I popped the blues and pinks just a bit.Crop in to hide any sneaking vents or light switches and you did it!
And there you have it! Experiment with the flash bouncing it at different angles just to see what happens and you will have a great new tool in your professional arsenal!
Tips by Bethany Hicks
Thanks for reading! I hope this helps some of the up and coming photographers out there!Have questions or comments send them to photographerbethany@gmail.com. To request some tips or to see more of my work visit www.bethanyjphotography.com or follow me on instagram @bethanyjphotography


